Moen kitchen faucets are one of the most popular brands on the market, and for a good reason. They’re reliable and versatile, making them perfect for a variety of applications. But, like all things, they can eventually need to be replaced.
That’s why we’ve put together this simple guide on how to remove Moen kitchen faucet single handle – so you can get back to cooking without any hassles!
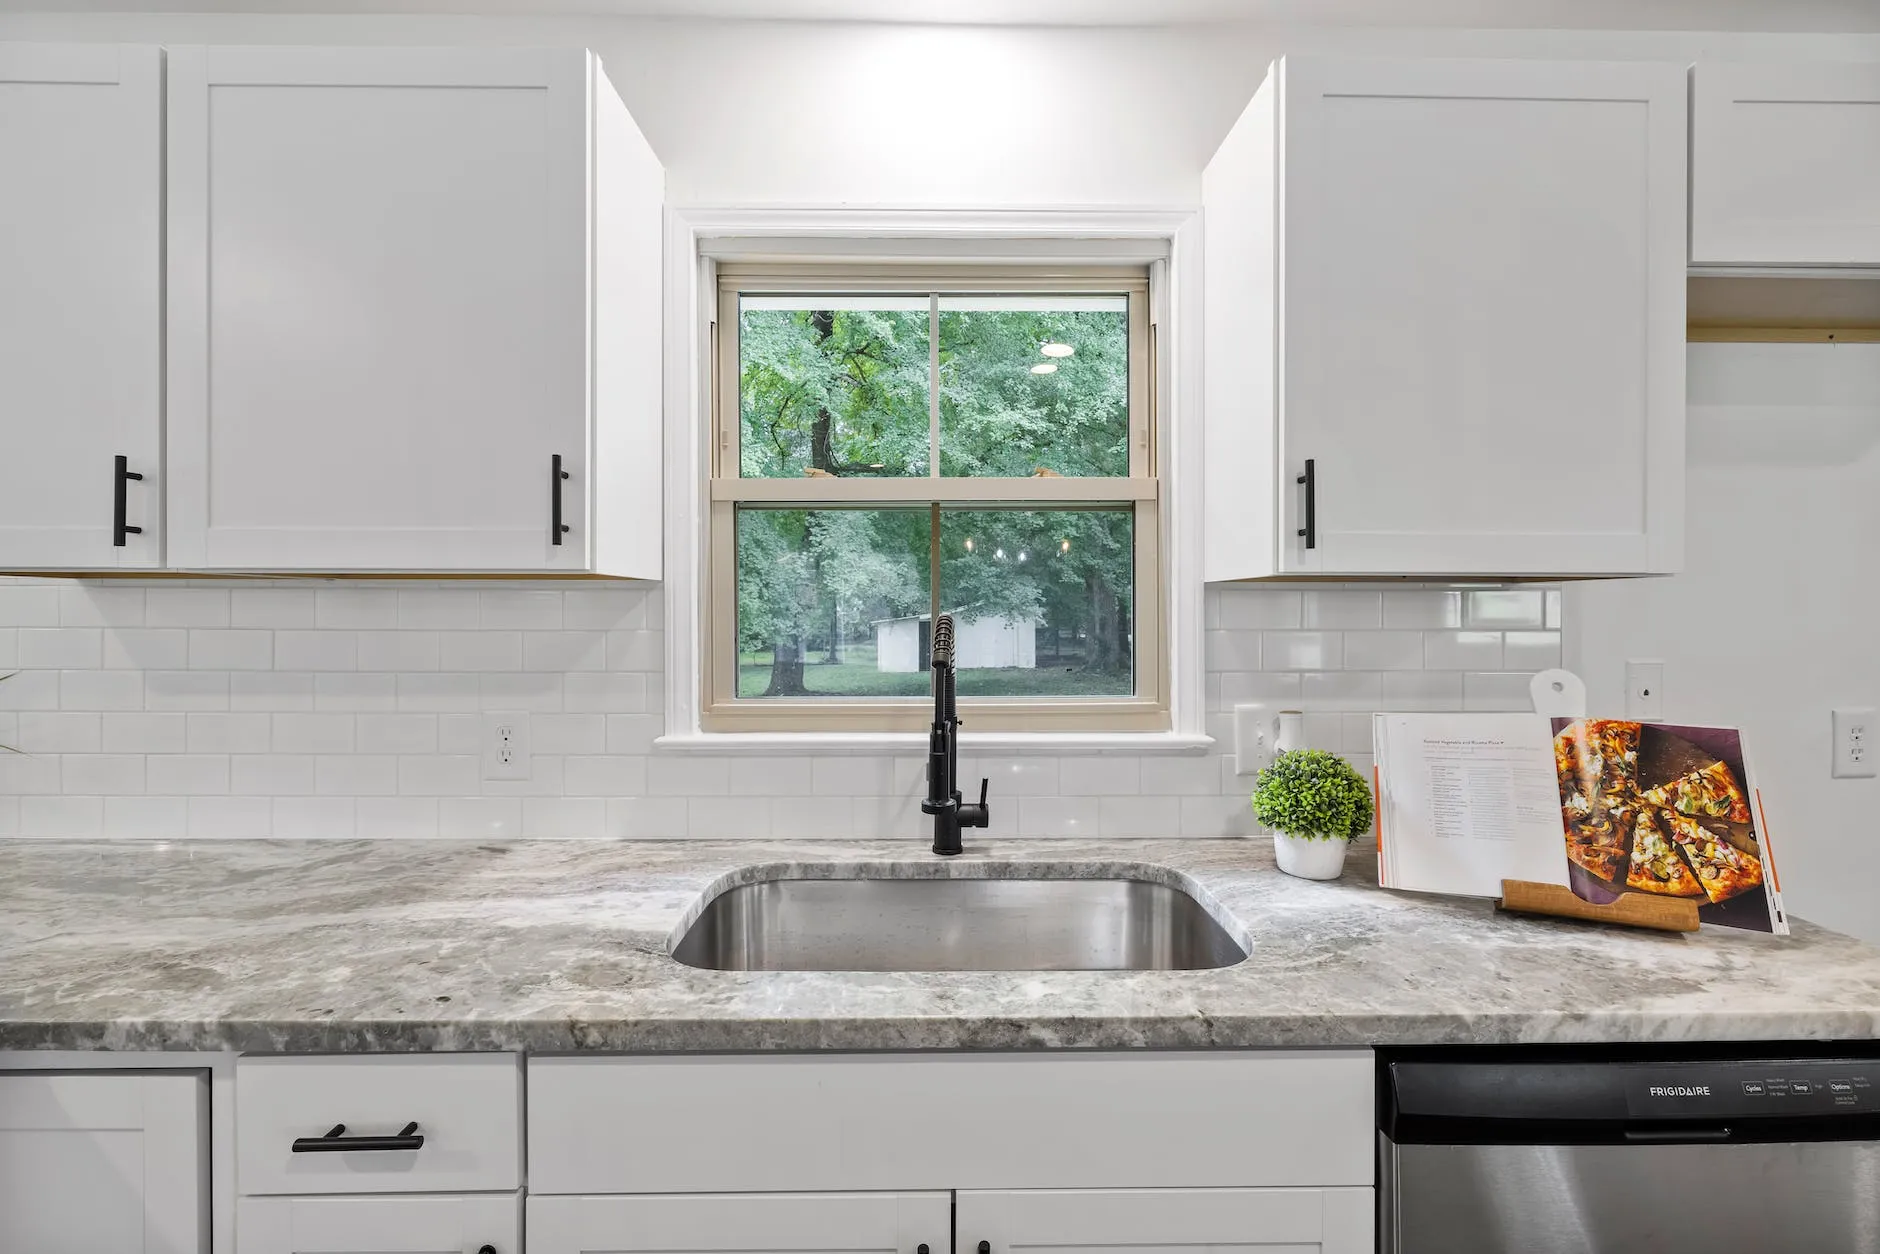
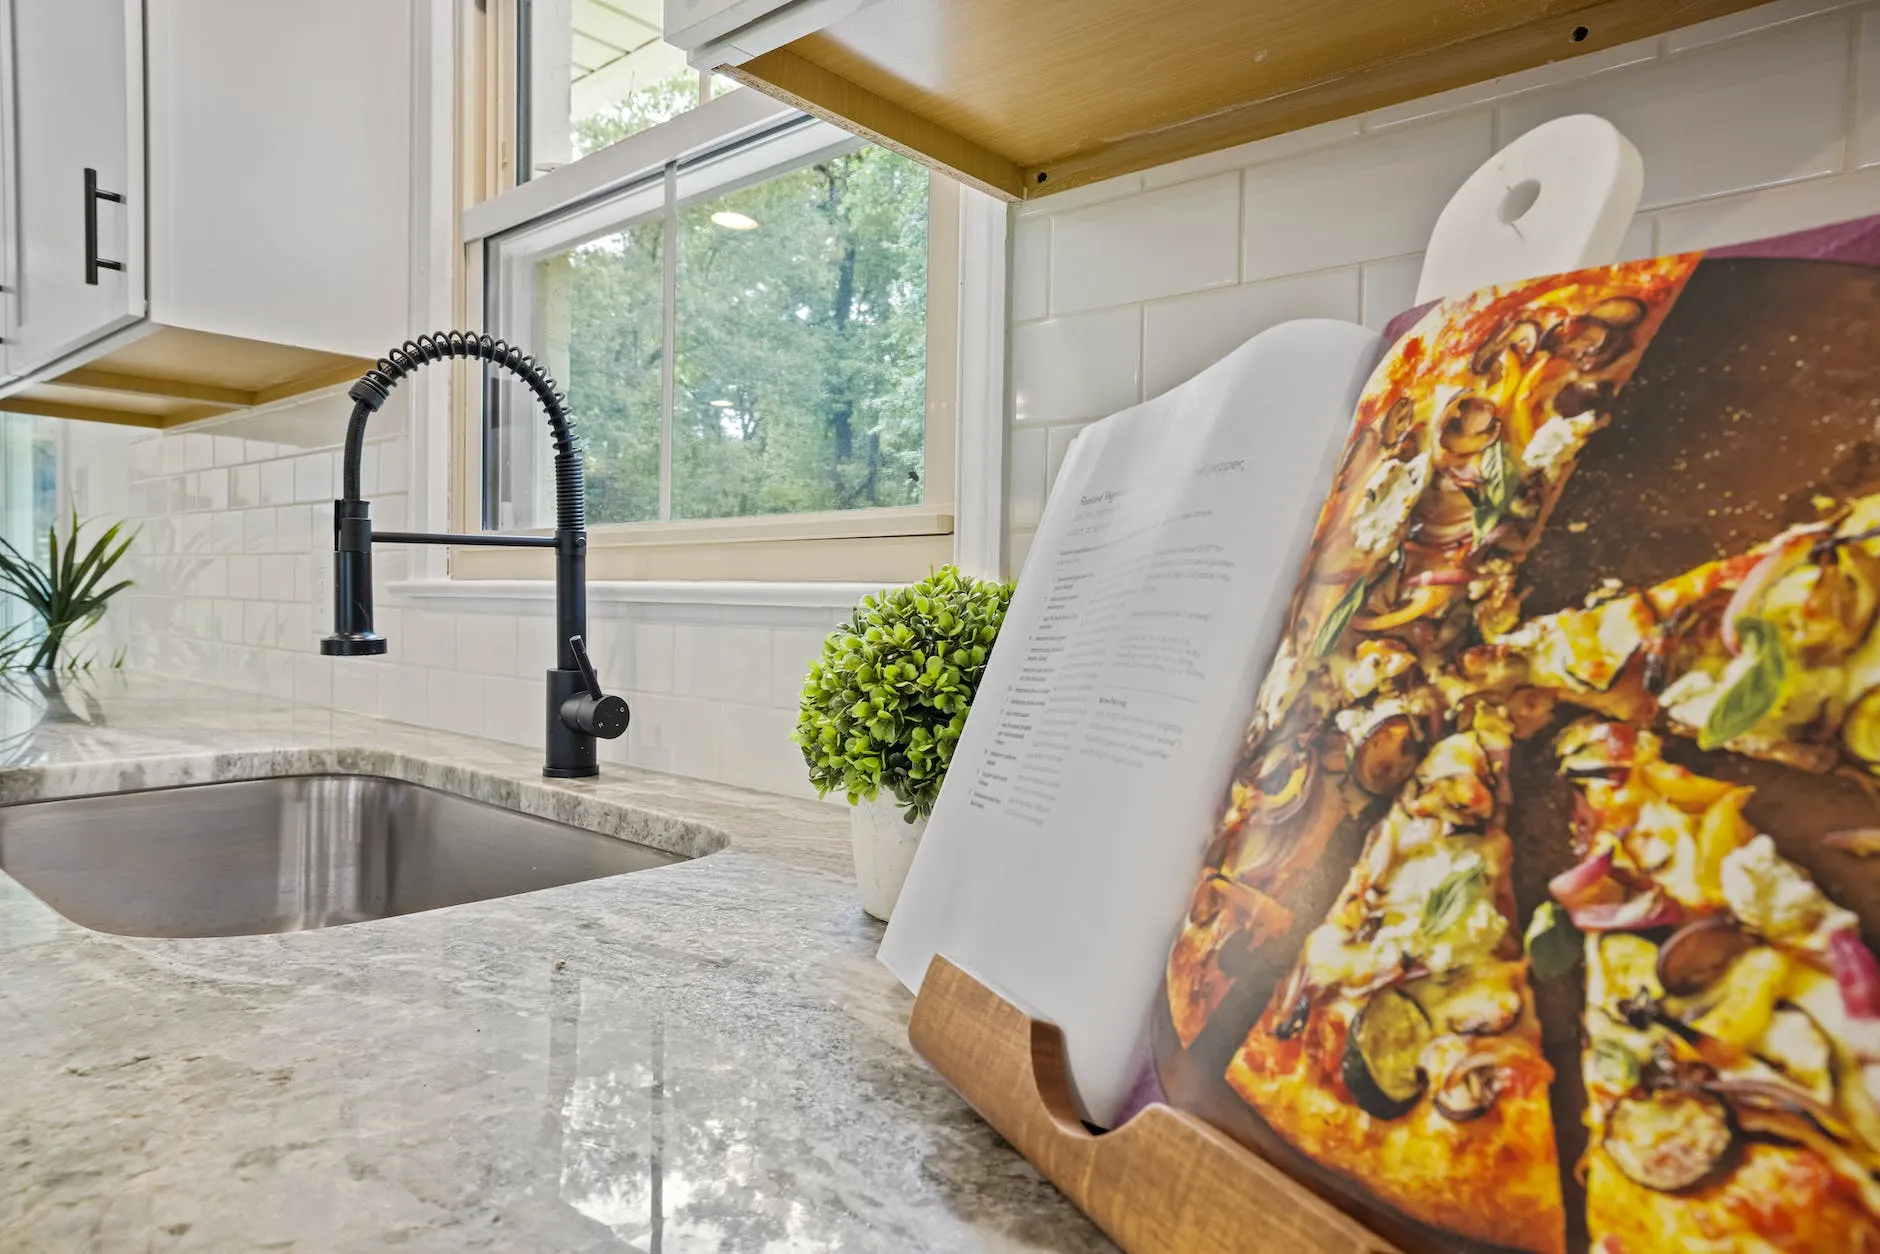
What Is the Moen Kitchen Faucet?
The Moen Kitchen Faucet is a popular design that is used in many homes. It features a single handle and is easy to operate. The faucet can be removed from the sink easily by unscrewing the handle.
How To Remove Moen Kitchen Faucet Single Handle?
If you want to replace your Moen kitchen faucet with a new one, you will first need to remove the old one. There are a few different ways that you can do this, depending on the model of your faucet.
If your faucet has a single handle, you must unscrew the knob from the faucet’s body.
Once it is unscrewed, you can pull it off of the bar that it is attached to. Then, you can remove the cartridge by turning it counterclockwise and pulling it out.
Finally, remove the base of the faucet by unscrewing the screw that is located in the center of it.
Not All Faucets Are Created Equal: Know the Quality of Your Faucet
A recently published study found that 42 percent of tested faucets leaked under moderate to heavy conditions. While this may not seem like a lot, over time, even a small leak can add up and cause water damage to your kitchen flooring or cabinets. So, if you’re looking to replace your old faucet, be sure to choose one with a high-quality build.
Some factors you can look for in a high-quality faucet are an aerator system that helps reduce water buildup, swiveling spout functionality for easier filling and cleaning, built-in drip sensors that prevent water from spilling over while in use, and stopper valves that automatically close if too much water is flowing out. If you’re unsure whether the faucet you have is of good quality, contact the manufacturer for help.
While Moen makes some of the best kitchen faucets on the market, make sure to read reviews before making a purchase so you know what to expect. Some poorly built faucets can actually ruin your kitchen’s finish within just a few months!
Tools You’ll Need
If you’ve ever tried to remove a Moen kitchen faucet with only one handle, you know it can be a pain. But don’t worry; there’s an easy way to do it. Here are the tools you’ll need:
- A wrench
- A plunger
- Tape measure
- Screwdriver
- Pliers
- Pipe cutter or jigsaw
Step By Step Guide
If you want to get rid of your old Moen kitchen faucet, there are a few different ways to go about it. Depending on the model of the faucet, you may be able to remove the handle completely or just the stem. Here’s a step-by-step guide on how to do it:
- If the faucet has a removable handle, remove it by turning it counterclockwise (as viewed from the front). Be careful not to lose any screws that hold it in place.
- Once the handle is off, find the stem nut on the right side and unscrew it with a wrench or pliers.
- Next, lift up the metal base of the faucet and pull it out from under the sink. Make sure not to lose any screws that hold it in place!
- If the faucet has no removable handle, remove only the stem by unscrewing it using either a wrench or pliers. You can then move on to step 5 if you want to remove the faucet from under your sink completely.
- Remove the old faucet handle by unscrewing it and pulling it away from the stem hole.
- Slip the new faucet handle into place and tighten it with a screwdriver or pliers.
- Reconnect the water line to the faucet, being sure not to kink it in any places, and turn on the water supply at the main valve.

Kitchen Faucet Removal Problems
If you’re having trouble removing your kitchen faucet, there could be a few causes.
First, if the faucet is old or corroded, it may be difficult to unscrew.
Second, if the water pressure is too high or too low, removing the faucet can also be difficult.
And finally, if the faucet is stuck due to sediment build-up on the inside of the tap or a flaw in the hanger, using brute force may not work.
If you’re experiencing one of these problems, there are a few repairs or fixes you can try. For example, if the faucet is stuck because of corrosion, checking for any chlorine deposits around the fastener and gently scrubbing it with a weak bleach solution can help free it up.
If the water pressure is too high, installing a new submersible pump may resolve the issue.
And lastly, if the faucet isn’t coming off at all due to sediment buildup or a flaw in the hanger, replacing it with a new model might be your best option.
Tips For Removing a Moen Kitchen Faucet Single Handle
If you’re having trouble removing your kitchen faucet’s single handle, here are a few tips to help:
- Pry off the old cartridge with a screwdriver or thin remover. Save the old cartridge for recycling.
- If the stem is plastic, insert a flathead screwdriver into one end of the stem and twist. The screwdriver should fit snugly without needing to be tightened. Do this on both sides of the stem.
- Holding onto the base of the faucet, unscrew the nut that connects it to the water line. Carefully pull out the water line and save it for later replacement if necessary.
- Repeatedly tap on the top of the faucet until you break it free from its housing–be careful not to hit any wiring inside! Once free, remove both pieces by pulling them straight down until they’re free from each other.
- If your Moen kitchen faucet has an attached sprayer, loosen and remove the sprayer before proceeding with steps 2-4 above–it’s easier to work with it separated from the faucet body.
- Slide out whatever was holding your new cartridge in place—usually a metal clip or tab- and install your new one by pressing it against the housing until it clicks into place. Don’t over-tighten!
How To Remove a Moen Kitchen Faucet with Sprayer
If you’re having trouble removing your kitchen faucet with the sprayer attachment, we have a few tips to help you remove it.
- Disconnect the hoses from the faucet. On most models, this is done by rotating the connector 360 degrees and pulling on it until it comes free.
- Use a wrench to turn the faucet handle counterclockwise until it becomes loose. Be careful not to damage the stem or threads on the handle.
- Now, use your hands to unscrew the handle from the stem. Be sure to hold onto both while doing this in order to avoid loosening them further and causing more damage.
- Once the handle is free, remove it by hand and set it aside.
- Rotate the connector on the hose so that the “male” end is facing away from the faucet body (usually marked with an “M” or an arrow). Insert a thin-headed screwdriver into one of the holes on either side of the connector, then twist until it pops out (be gentle; you don’t want to strip anything).
How To Remove Moen Single Handle Kitchen Faucet Cartridge
If your Moen kitchen faucet is no longer dispensing water with the usual force, it may be time to replace the single-handle cartridge. This guide will show you how to do just that!
First, remove the old cartridge by unscrewing the brass nut that holds it in place. Once unscrewed, pull out the old cartridge and discard it.
Next, install the new cartridge by screwing it into the brass nut until it’s snug. Ensure the O-ring is properly positioned on top of the spout, and tighten down the brass nut using a wrench.
Finally, reattach the water supply line and turn on your faucet to check for leaks. If there are any leaks, tighten up any loose connections before continuing.
Old Moen Kitchen Faucet Removal
If you want to remove your kitchen faucet, there are a few different ways you can go about it. One option is to use a wrench to turn the handle counterclockwise until it comes loose. Once the handle is loose, you can twist it off of the spigot. If your faucet has a sprayer attached, you must unscrew the sprayer head from the hose. Finally, remove the hoses from the faucet.
Conclusion
If you need help removing your Moen kitchen faucet single handle, we have a few simple steps to complete the job. First, use a wrench to loosen the grip nut. Next, use a basin plunger or pliers to remove the stem from the handles. Finally, twist off the handle and discard it. You’re now ready to replace your kitchen faucet!
Frequently Asked Questions:
How do you take apart a Moen single-handle kitchen faucet?
Taking apart a Moen single-handle kitchen faucet is a fairly straightforward task, provided you have the right tools and know how to proceed. The first step is to unscrew the two attachment screws holding the handle. Once they are removed, the handle can be pulled out of the faucet body. Next, remove the washer and nut that secure the brass connector to the valve stem. Finally, use a wrench to unscrew the valve from the stem.
How do you remove a single-handle kitchen faucet handle?
If you need to remove a single handle kitchen faucet handle, there are a few steps that you will need to take. First, locate the screw that holds the handle onto the faucet. Once you have located the screw, unscrew it with a Phillips head screwdriver. Then, remove the handle from the faucet.
How do you remove a Moen kitchen faucet handle without screws?
If you’re looking to remove a Moen kitchen faucet handle without screws, you can try a few methods. The first option is to use a wrench to twist the handle counter-clockwise until it comes loose. Another option is to use a screwdriver to pry off the handle’s mounting plate. If neither of these options works, you may need to remove the faucet’s stem and handle assembly.
How do you remove a Moen single-handle kitchen faucet sprayer?
If you’re looking to remove your Moen kitchen faucet sprayer, there are a few different ways to go about it. The first option is to use a wrench to turn the sprayer handle counterclockwise until it detaches from the spout. If your sprayer has a removable aerator, you can simply unscrew it and remove it. Otherwise, you’ll need to disconnect the hose from the faucet using a compression connector or pliers. After that, just twist the hose off of the faucet and pull it out of the sink. Finally, wipe down any residue that may have built up on the sprayer or fittings with a damp cloth before reassembling them according to instructions.